Hi
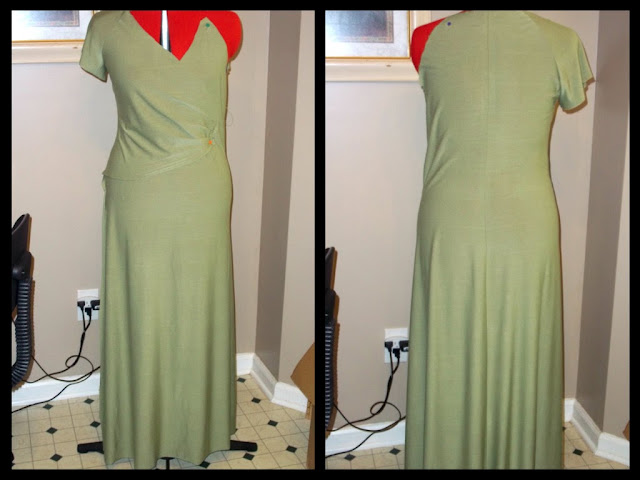
Monday I began a process for making Simplicity 2369 as a tutorial. I am posting pictures that shows the process for making this dress (long/short) or tunic. I chose to make the long dress View A. Here are the pictures so far and if you are sewing along with me, you'll find that this is a great pattern.
 |
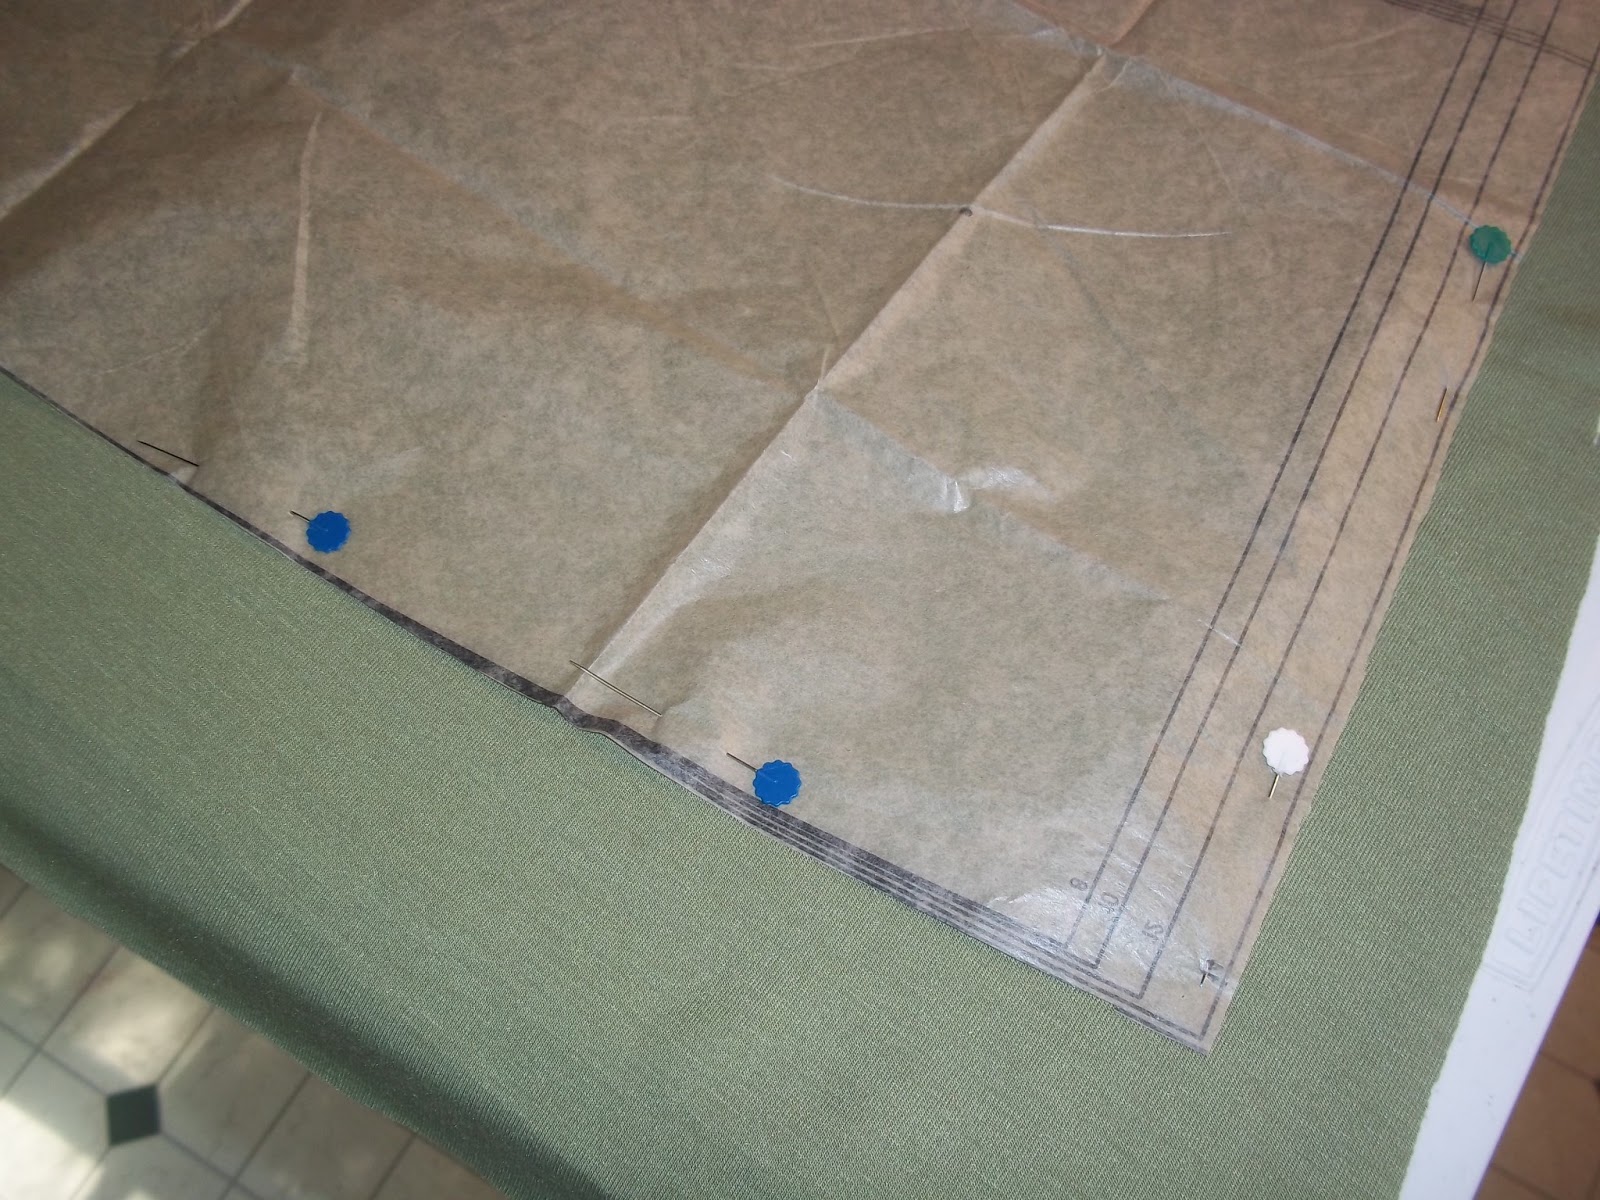
| Remember I added some changes to the pattern, this is what I did. On the front piece of pattern I added 1 inch to the hip area for about 4 inches down. Then I added 2 inches to the rest of the front all the way down to the floor. I felt like the pattern was to short, so I added 3 inches to the bottom to make the whole dress longer. On the back pieces, I added 1 in to the center back until I got to the hip area, then I added 2 inches to the rest of the back down to the floor and added 3 inches to the total length (same as the front for the length). I also added 2 inches to the sides of the pattern (the same way I added to the front of the pattern piece). |
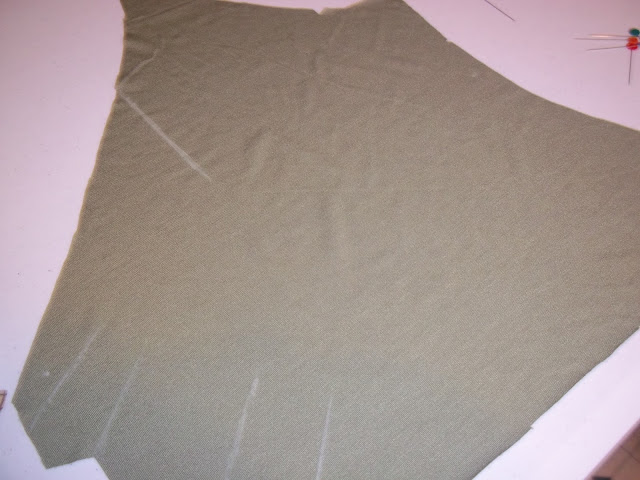 |
| First, after cutting out your pattern & material pieces, place all your markings & cut all notches. This is important as they will help tremendously during construction. |
 |
| The instructions tells you to make the pleats in the front overlapping bodice piece. The 2 dots (marked with tailor's chalk) should be showing as you will need them later. If they rub off, reapply them so that you can see them. |
 |
| Once you have your pleats pinned baste them, then iron them. Here is where you will turn under/ press for the hem on the overlap piece, I turned my fabric under until it met my marking dots, then I pressed the allowance. After I pressed that, then I turned it under again to make the final hem for this piece, pressed it then sewed it. |
I love the way knit fabric feels, but I have noticed that you need a more gentle hand when trying to sew and maneuver it. Reason being, you don't want to stretch the fabric during construction because it can cause your garment to a lopsided. So try to be as light with you fabric as it feels.
 |
| Next, the instructions tell you to join the 2 back pieces together. I pinned my pieces from the top to the bottom. The 1 notch at the top should be completely aligned, then pin the bottom and work your way upward making sure that you fabric pieces are even. I began my stitch at the bottom. This makes the stitches turn out correctly and line up when you have long straight stitches. Check often to make sure that your pieces are even. Nothing is worse than getting to the end of a stitch only to find that you have to rip it out because it is uneven. |
 |
| This is what you should have after connecting the 2 pieces that goes to the front. |
 |
| This is a great picture for the actual color of the fabric, but the little dot is where you are suppose to stop at. I decided to continue with my stitch because I didn't want to stretch the fabric as I moved it during transfer construction, so I will remove these stitches when the time comes. |
 |
| Now we have to sleeves. Sew the sleeves together at the sides with the notches, then sew the underarm together. Press the seams open. |
 |
| Then connect them with the front and back pieces. Use the notches and bottom sleeve seam as a guide for aligning. |
Well, this ends today's part I of the sew along. Tune in tomorrow for the finale and the big reveal. I hope you enjoyed this session and I look forward to the finished product. BUT,,, for those of you who are like me (instant gratification) here is a look see at what we have so far on Sarah.
Until tomorrow,,Lots Of Love and Plenty Of Hugs
Dellia


Comments
Post a Comment